Is your old thermostat failing to keep your home comfortable? Thermostat replacement might be the solution you need to restore optimal temperature control and potentially save on energy costs. Whether your current unit is outdated, malfunctioning, or simply incompatible with your upgraded HVAC system, installing a new thermostat can significantly improve your home’s comfort and efficiency.
Modern thermostats offer advanced features like programmable schedules, Wi-Fi connectivity, and smart learning capabilities that adapt to your lifestyle. Before diving into this project, it’s helpful to understand the basics of HVAC services and how they connect to your overall home comfort system.
This comprehensive guide will walk you through everything you need to know about thermostat replacement, covering:
- Why replacing your thermostat is important for home comfort
- Step-by-step installation instructions for your new thermostat
- Essential safety considerations and troubleshooting tips
- When to call professional HVAC technicians for assistance
🔥 Why Thermostat Replacement Is Important
A functioning thermostat serves as the command center for your home’s heating and cooling system. When this crucial component fails or becomes outdated, it can impact your entire HVAC system’s performance and your family’s comfort.
Older thermostats often lack the precision and features needed for optimal energy efficiency. Many homeowners discover that upgrading their thermostat can lead to noticeable improvements in both comfort and utility bills.
Key benefits of replacing your thermostat include:
- Enhanced energy efficiency — Modern programmable thermostats can reduce heating and cooling costs by up to 15%
- Improved temperature accuracy — Digital thermostats provide more precise temperature readings than older mechanical models
- Smart scheduling capabilities — Program different temperatures for various times of day to match your routine
- Remote control features — WiFi-enabled thermostats allow temperature adjustments from anywhere
- Better system diagnostics — Advanced models can alert you to potential HVAC issues before they become major problems
🔧 6 Steps To Install A New Thermostat
Replacing a thermostat is a manageable DIY project for many homeowners, though it requires careful attention to electrical safety and proper wire connections. These detailed steps will guide you through the installation process safely and effectively.
Always remember that working with electrical components carries inherent risks. If you’re uncomfortable with any step or encounter unexpected wiring configurations, don’t hesitate to contact professional technicians for assistance.
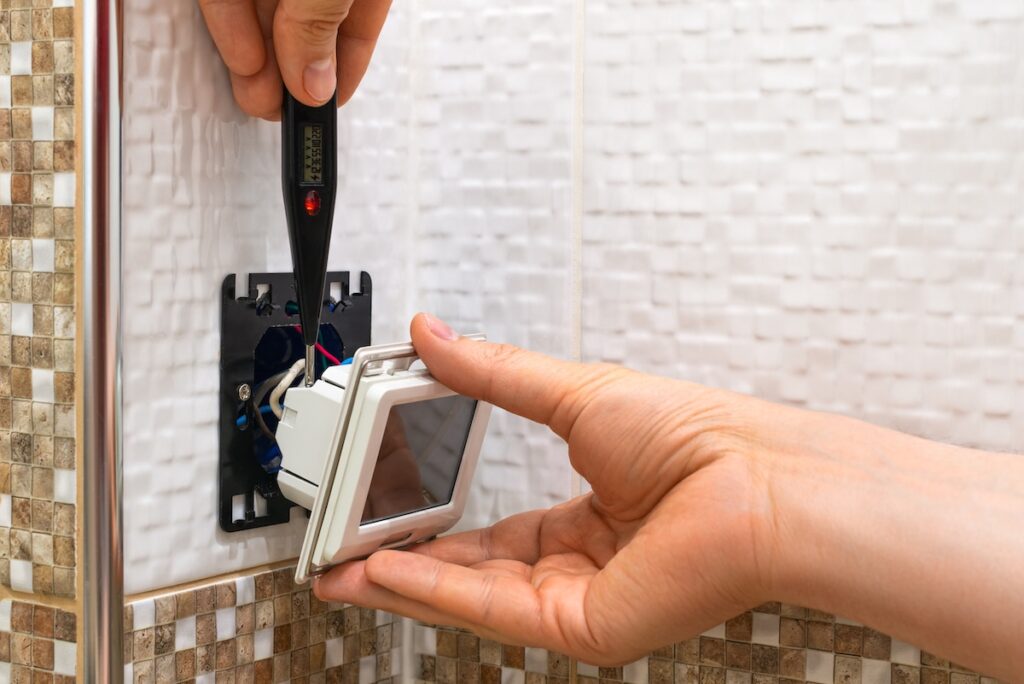
1. Turn Off Power and Remove Old Thermostat
Safety should be your top priority when beginning any electrical work in your home. Start by locating your home’s electrical panel and switching off the breaker that controls your HVAC system.
- Test that power is off by trying to adjust the temperature on your current thermostat
- Take a clear photo of your existing wiring configuration before disconnecting anything
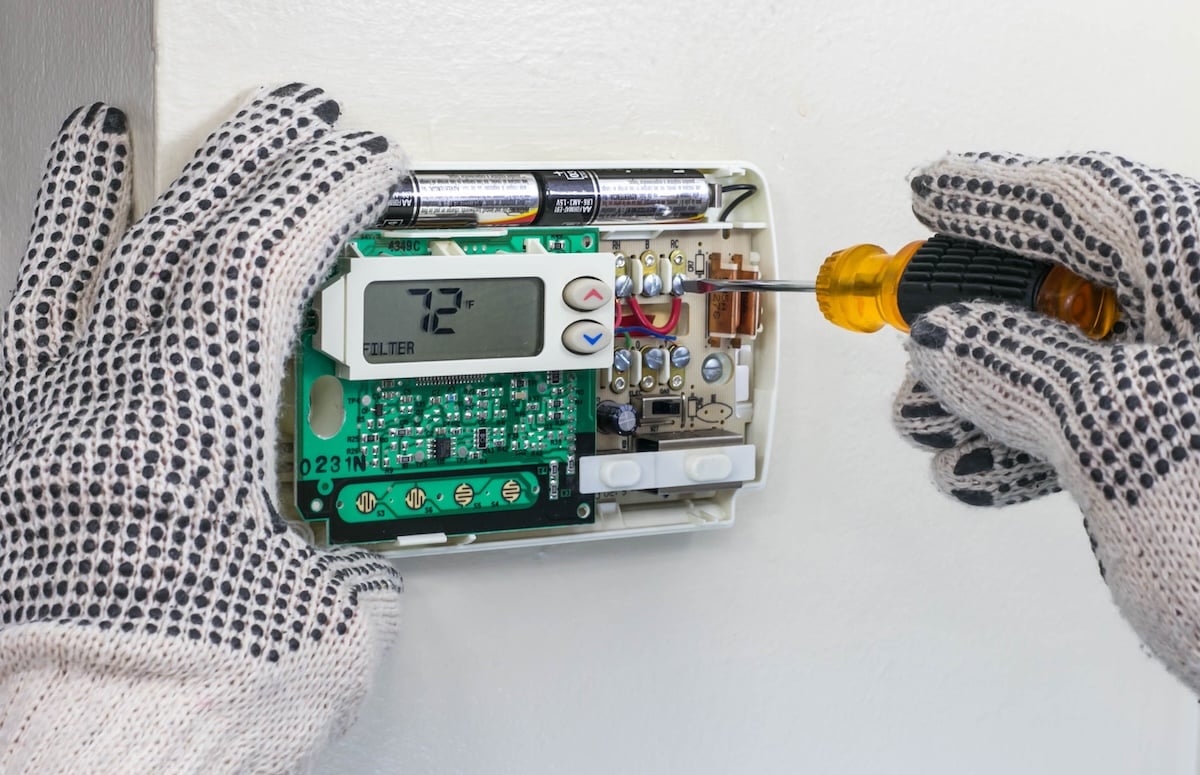
2. Label and Disconnect Wires
Proper wire identification prevents confusion and potential damage during installation. Most residential thermostats use standard color-coded wires, but configurations can vary between systems.
- Use masking tape or wire labels to mark each wire with its corresponding terminal letter (R, W, Y, G, C)
- Gently pull wires straight out from terminals—avoid twisting or yanking motions
3. Install New Mounting Plate
The mounting plate serves as the foundation for your new thermostat and must be positioned correctly for proper operation. Choose a location away from direct sunlight, drafts, and heat sources that could affect temperature readings.
- Use a level to ensure the mounting plate sits perfectly straight
- Mark screw holes with a pencil before drilling to ensure accurate placement
4. Connect Wires to New Thermostat
Wire connections must be secure and correctly matched to their corresponding terminals. Loose connections can cause system malfunctions or prevent your thermostat from controlling your HVAC equipment properly.

- Match each labeled wire to its corresponding terminal on the new thermostat
- Ensure wire connections are tight and fully inserted into terminals
5. Attach Thermostat to Mounting Plate
Once all electrical connections are complete, carefully position the thermostat onto its mounting plate. Most modern thermostats feature a simple snap-on design that secures the unit without additional fasteners.
- Gently press the thermostat onto the mounting plate until it clicks into place
- Verify that the display is level and all connections remain secure
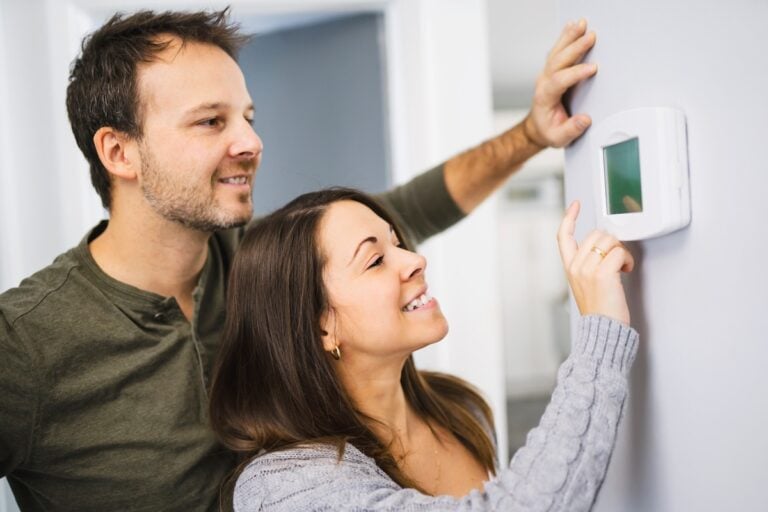
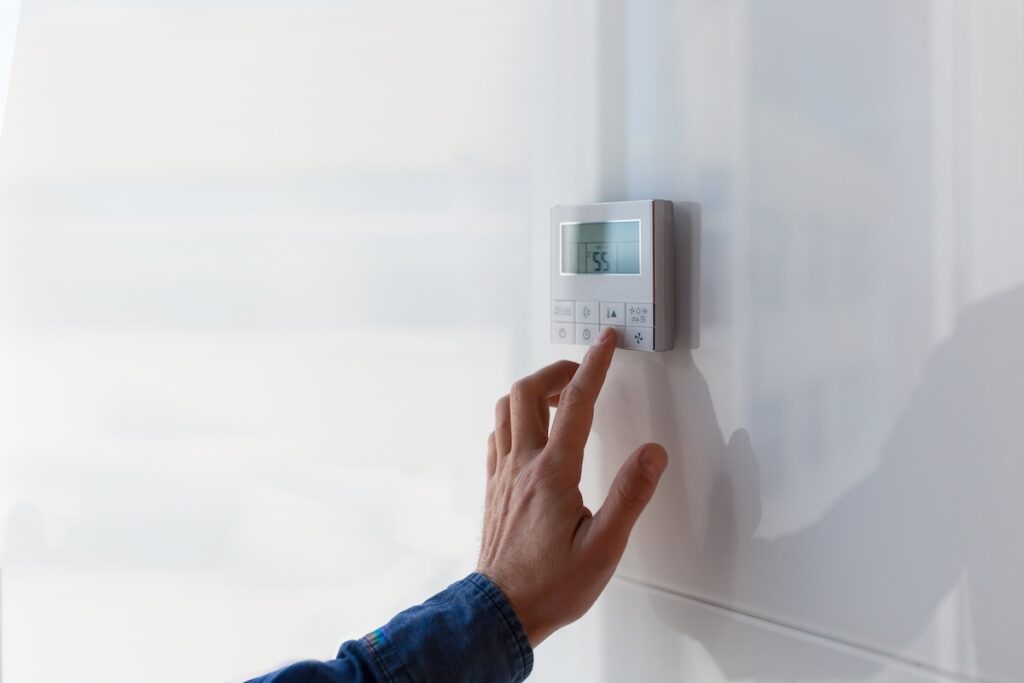
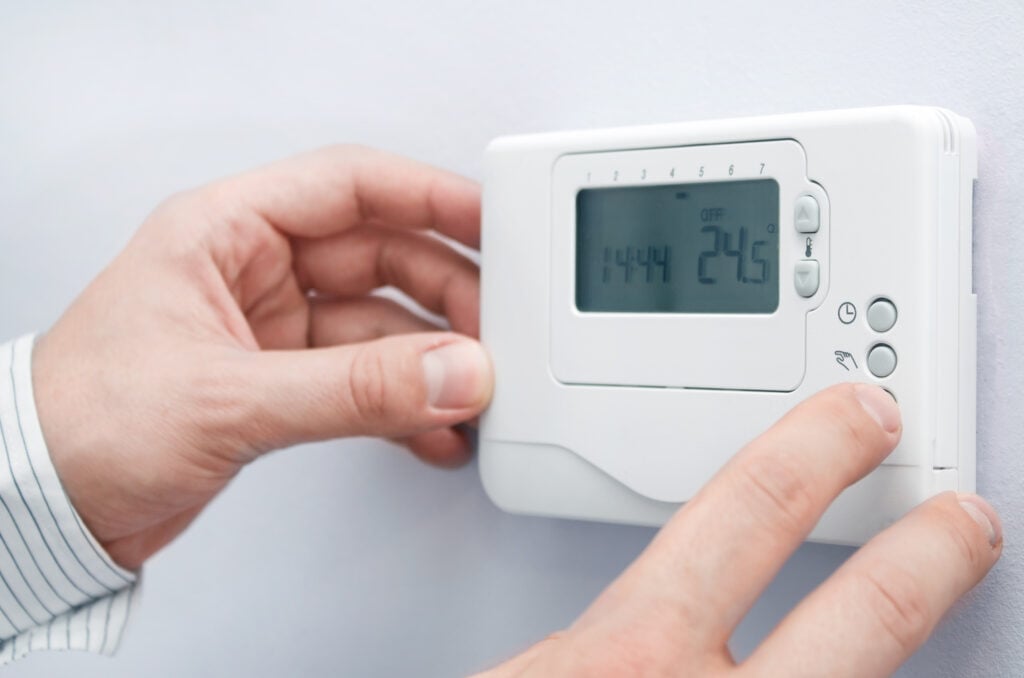
6. Restore Power and Configure Settings
With installation complete, restore power to your HVAC system and begin the setup process. Your new thermostat will likely require initial configuration to match your system type and personal preferences.
- Turn the circuit breaker back on and verify that your thermostat powers up properly
- Follow the manufacturer’s setup instructions to program schedules and system settings
⚠️ Safety Considerations and Common Issues With Cooling Systems
Thermostat installation involves working with electrical systems that power your home’s heating and cooling equipment. Understanding potential hazards and common installation challenges can help you complete the project safely and successfully.
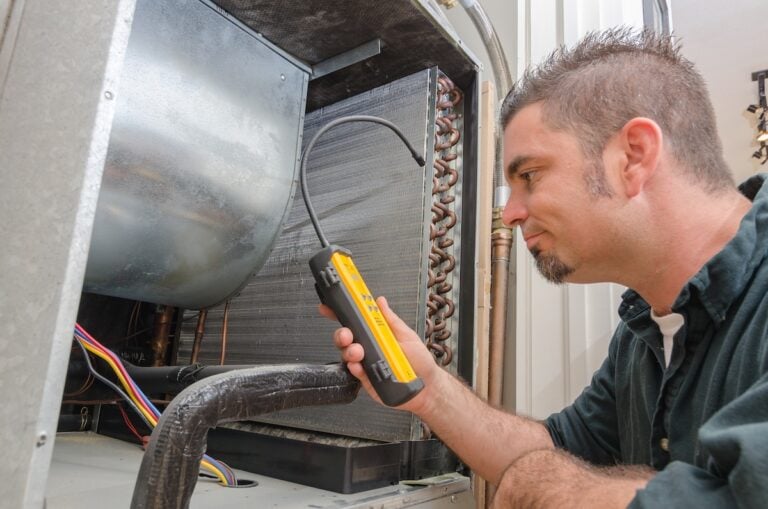
Even seemingly simple electrical work can present unexpected complications. Professional HVAC technicians have the experience and tools to handle complex wiring situations and system compatibility issues that might arise during installation.
Electrical Safety Precautions
Working with electrical components requires constant vigilance and proper safety protocols. Never assume that turning off your thermostat provides adequate protection—always shut off power at the electrical panel.
Essential safety measures:
- Verify power is off using a non-contact voltage tester before touching any wires
- Work in good lighting to clearly see wire colors and terminal markings
- Keep electrical connections dry and avoid working during humid conditions
Compatibility and Wiring Issues
Not all thermostats work with every HVAC system type. Heat pumps, multi-stage systems, and older equipment may require specific thermostat models or additional wiring modifications.
Common compatibility concerns:
- C-wire requirements — Many smart thermostats need a common wire for power
- System voltage — Ensure your new thermostat matches your system’s voltage requirements
- Multi-stage systems — Heat pumps and two-stage systems may need specialized thermostats
When to Call Professional Help
While many homeowners successfully install their own thermostats, certain situations warrant professional assistance. Recognizing when you’re in over your head can prevent costly mistakes and safety hazards.
Contact professional HVAC technicians if you encounter:
- Unusual wire colors or configurations that don’t match standard wiring diagrams
- Multiple HVAC systems controlled by a single thermostat
- System compatibility questions about heat pumps or zoned systems
- Electrical issues such as tripped breakers or non-functioning equipment
🏠 Make Your Home More Comfortable Today
Installing a new thermostat represents a smart investment in your home’s comfort and energy efficiency. Modern thermostats offer advanced features that can adapt to your lifestyle while potentially reducing your monthly utility bills.
However, successful installation depends on proper planning, safety precautions, and understanding your specific HVAC system requirements. When in doubt, professional installation ensures optimal performance and protects your investment in new equipment.
Ready to upgrade your home’s temperature control system? Contact Thelen Plumbing, Heating, and Air for expert thermostat installation and HVAC services throughout Minneapolis and the Twin Cities area. Our experienced technicians can help you choose the perfect thermostat for your system and ensure professional installation that maximizes your comfort and energy savings.
Unlock Our Limited-Time Deals!
Take advantage of our offers on AC tune-ups, new installs, repairs, and more.
We Can’t Wait to Help Your Home!
"*" indicates required fields